Use categories
Setting up Categories makes it easy to track what type of incidents are reported. Categories can contain sub-categories to let you group similar reports together, while still being able to see the detail. In future releases you will be able to run reports based on these categories.

For instance you might make a category - Behaviour and Disciplinary. This lets you quickly search for learners who have any notes or reports about behaviour. Within the category of Behaviour and Disciplinary you could add sub-categories for each level of your disciplinary procedure. You can then easily search for all learners who are on a final warning.
Create categories
Create a new category
-
To create a category select Create category .
-
Select a colour from the drop down menu.
-
Choose a Category name eg. Health.
-
Select the Tick button to create the category.

Create a sub-category
-
Find the main Category you want to add a sub-category to.
-
Select theMenu button , then+ Add sub-category .
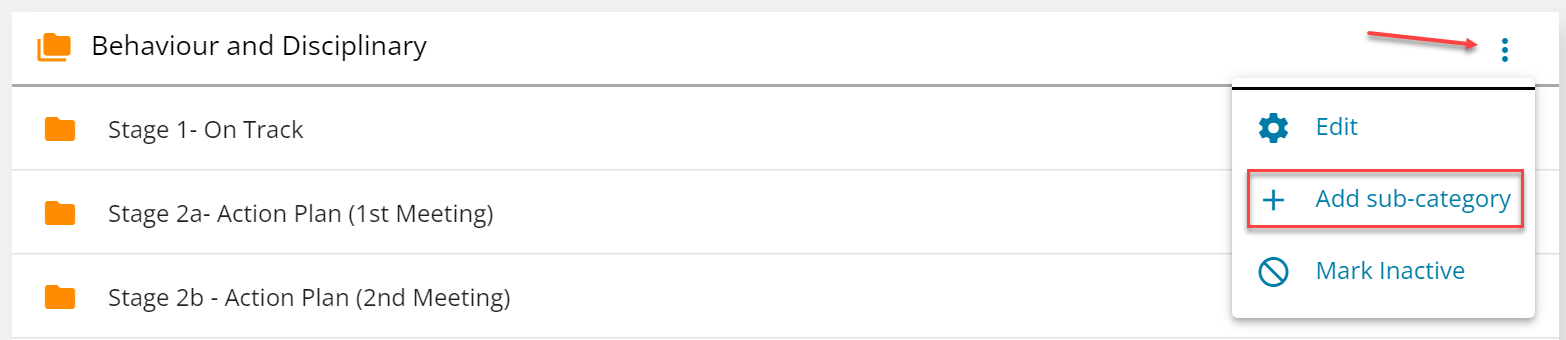
-
The sub category will have the same colour as the category it belongs to.
-
Choose a Sub-category name eg. Stage 4 - Final Warning.
-
Select the Tick button to create the sub-category.

Edit categories
Categories and sub-categories are both edited in the same way.
-
Find the category you want to edit.
-
Select theMenu button , thenEdit .

-
Make any required changes.
-
Select the Tick button to save the changes.
Remove a category
Categories and sub-categories can be removed in the same way.
Delete
A category and sub-category can only be deleted if it has never been used.
-
Find the category you want to remove.
-
Select theMenu button , thenDelete .

-
A confirmation message will show and the category will be removed from the list.
Mark inactive
If a category or sub-category has been used you can not delete it. You can only mark it as inactive. This will remove it as an option from any other screen that uses categories.
-
Find the category you want to remove.
-
Select theMenu button , thenMark inactive .

-
A confirmation message will show and the category will be removed from the list.
Mark active
Restoring categories and sub-categories is done in the same way.
-
Ensure the Include inactive toggle is turned on.
-
Find the category you want to restore.
-
Select theMenu button , thenMark active .

-
A confirmation message shows and the category is returned to the list.
Search categories
If you have a lot of categories you might want to check what already exists to avoid making overlapping ones. You can search for a keyword to see if a category already exists or you can filter the displayed categories to only view the ones you are interested in.
Use the search
-
Type a key word into the search bar.
-
As you type the categories are sorted.
Any sub-categories that contain the search term are shown. If the search term is the name of a category all of its sub-categories are shown. eg online.

Use the filter
By default all of the categories and sub-categories are shown. To only look at specific categories select the drop down box.

Inside the drop down menu you can select as many categories as you want. The filter will be applied immediately.
Inactive categories
If the category you are looking for is not shown it may be inactive. To show inactive categories. Select theInclude inactive toggle. Any inactive categories will be shown with an (inactive) label.
